
|
By Dennis Maag Welcome to what we envision to be an ongoing feature with some pointers on how to photograph apparatus in a style that is similar to what you see on the pages of Fire Apparatus Journal. |
 |
| In the first column, we will basically review the submission guidelines that have been used since the magazine first was published in 1984. It covers a broad range of items which are discussed in general terms. Future columns will include detailed descriptions of specific aspects of apparatus photography that can assist you in replicating the images that you’ve seen in Fire Apparatus Journal. We’ll also cover items such as camera settings, information gathering and tricks of the trade that can make a good photo a great shot! And finally, we hope to also offer a forum where you will be able to submit photos to Fire Apparatus Journal photographers for comments about improving the image and the techniques you are employing when photographing apparatus. | |
| The first thing to consider about photographing fire apparatus is to decide what you want to do with the photo. Just because we, as apparatus photographers for Fire Apparatus Journal, shoot rigs in a particular manner, doesn’t make it the right way for everyone. You must decide what you want from the photo including any artistic license. Are you interested solely in the rig itself and preserving it for history? Or do you prefer to see the rig in action at a fire? Should you decide that you’d like to photograph apparatus in a manner similar to what you see in Fire Apparatus Journal, then you’re in the right place. The goal of this column is to provide you with what we look for when considering apparatus for Fire Apparatus Journal magazine. |
|
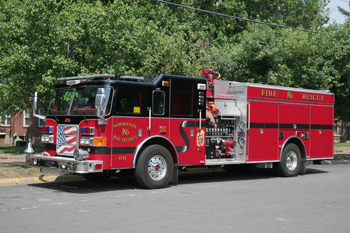
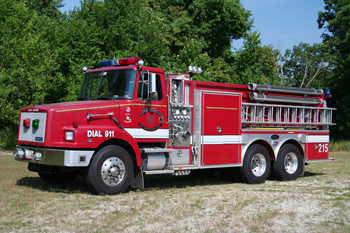
The majority of the apparatus views we select for publication in Fire Apparatus Journal employ what is commonly referred to as the 3/4 front/side view in which the sun is shinning on both the front and side of the vehicle, with all shadows behind the rig. There should be no shadows or obstructions blocking or projected onto the vehicle. There should be some space in front of and behind the vehicle so we can do some cropping of the photo without cropping into the |
 |
|
vehicle, in other words, the photo should not be bumper to bumper. However, don't stand so far back that the resulting photo is a small image of the vehicle. The vehicle should fill up around 90% of the length of the photo. The 3/4 Front/Side View Foreground and Background
|
|